
Welcome to the first part of the BikeTiresDirect Spring Cleaning Tutorial. In this article and those that follow, we dive into routine (not-so-routine) bike maintanenace, so your bike rides -- and looks! -- its best!
Drivetrain spring cleaning is arguably the most important out of all the bike maintenance you could possibly do year round. With all the moving parts and the dirt-attracting metal lubricants on the cassette and chain, the winter elements are particularly caustic on the drivetrain.
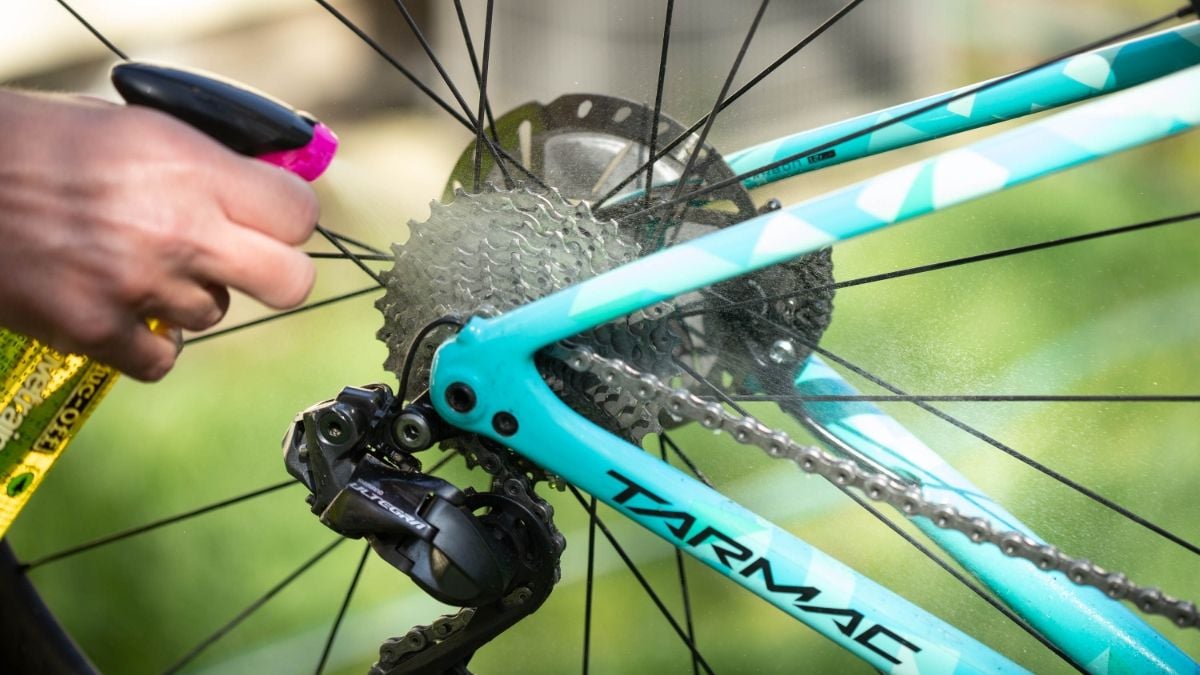
To assess the dirtiness of the drivetrain, first, look at the cassette. If the cassette is metallic silver, the cogs turn black when they collect grease and dirt. If the cassette is black, you can simply use a rag and run it along the sides of the cassette cogs and in the teeth to see how much detritus has collected.
Drivetrain + Cassette
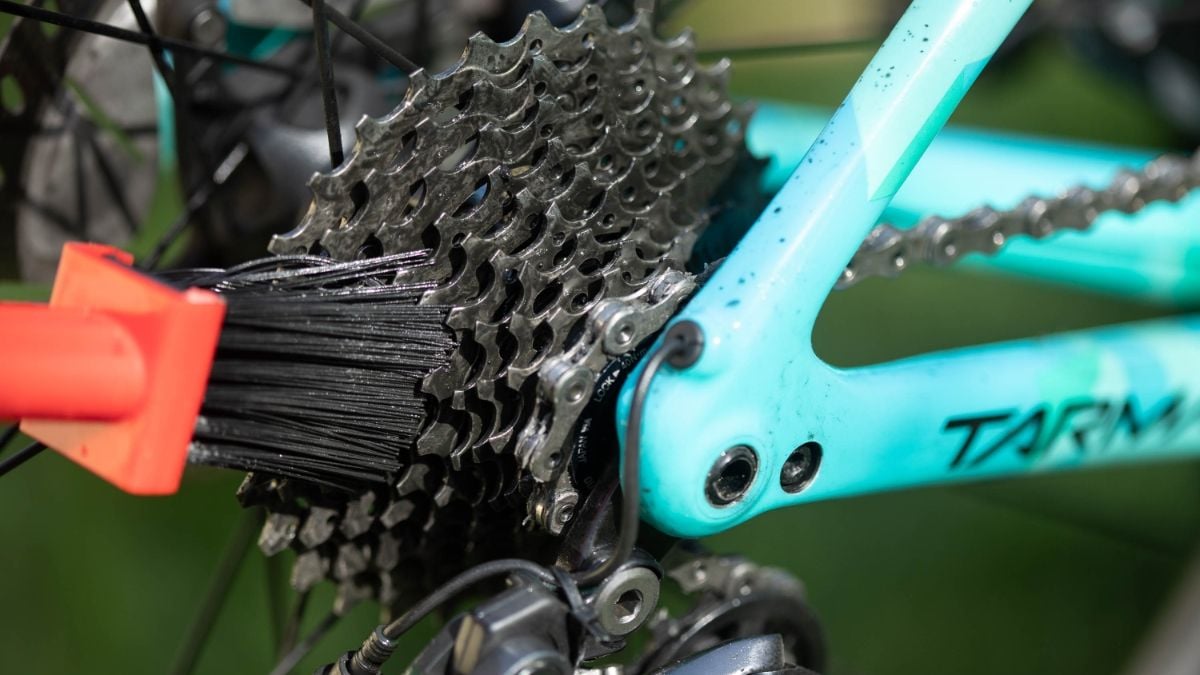
The best way to clean a cassette is by removing the rear wheel from the bike, then removing the cassette from the freehub. Once the cassette is removed, you can soak it in a degreaser solution like the Muc-Off Bio Drivetrain Cleaner, or simply use a rag with degreaser to wipe and floss each cog clean. You can also use a coarse wire brush (like the Park Tool GSC-4 Cassette Cleaning Brush) to remove the hard-to-get greasy sections of the cassette. Be sure to keep track of the cassette cog order so they can be put back correctly after cleaning.
Brush + Cassette
Cassette removal requires specific tools (Park Tool SR-2.3 Sprocket Remover and Park Tool FR-5.2H Cassette Lockring Tool with Handle) and specific torque reinstallation, so if you are uncomfortable with this process, you can use a rag to wipe down the cogs while it is still on the rear wheel. Wet a rag with degreaser and floss the cogs using the edge of the rag. If you are in a hurry, an ozone friendly aerosol degreaser, like Finish Line's Speed Bike Degreaser, can remove a lot of the grime and also dry fast if you are trying to get out for a ride. Be sure to assess the wear on the cassette teeth as you clean — if the teeth are worn, you will need to acquire a new cassette (and then you don't need to clean anymore!). *Please note: It can be hard to tell if a cassette is actually worn sometimes. One certain indicator is to look at the teeth of the individual cogs. If they are wearing into a point, that is an indicator the material is wearing past the point of function.
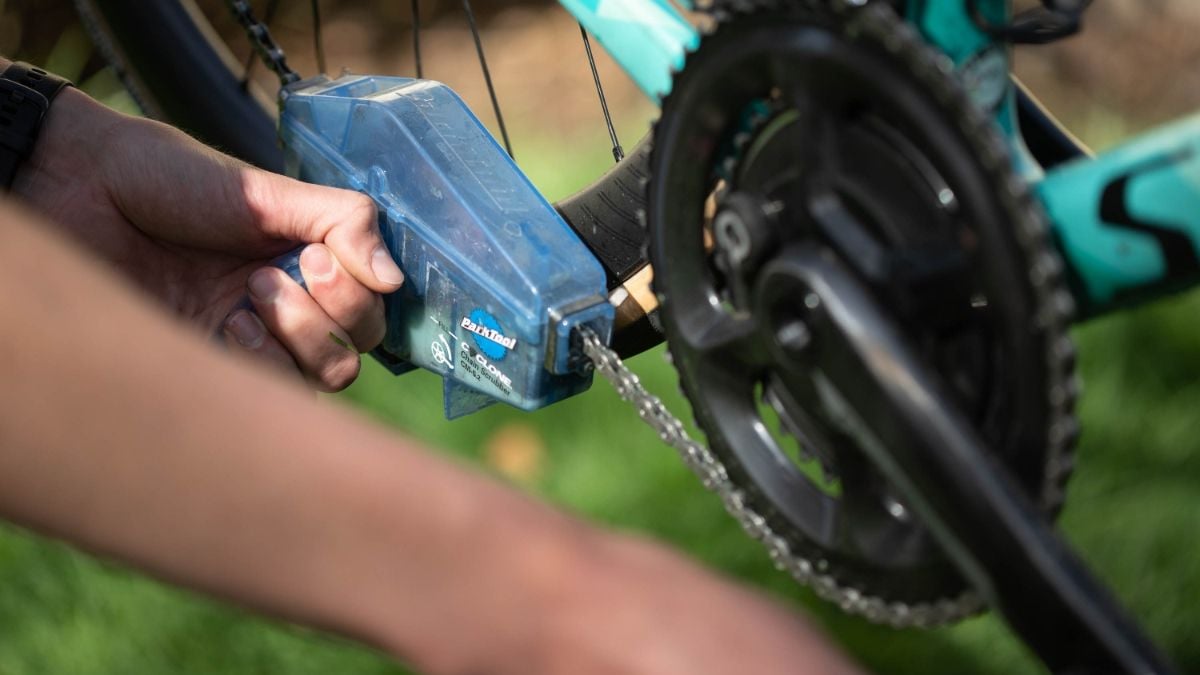
Parktool Chain Cleaner
The next part that needs to be cleaned and checked is the chain. Similar to the cassette, the chain can also be removed if it has a quick-link. If you can remove the chain, you can soak it in a degreaser solution to remove all of the dirt and access grease. If the chain cannot be removed, we recommend using a chain cleaning tool (like the Park Tool CM-5.3 Cyclone Chain Scrubber) and degreaser to thoroughly wash the chain while it is still on the bike. After cleaning the chain and wiping it dry with a rag, apply a fresh coat of lubricant. (It is best to do this last, and let any residual degreaser evaporate while you are doing other stuff on the bike). Some of our top lubricants are Rock-N-Roll Gold Lube, Dumonde Tech Lube,
Chain Lubing
At this point, your drivetrain should be working A LOT better. Cleaning the cassette and chain can remove a lot of weird noises from your bike and allow the mechanism to shift better.
The last part of the drivetrain that requires springtime love is your derailleur (or derailleurs). Savvy bike mechanics will actually remove the derailleurs, cables, and housing, and soak the derailleur(s) in a degreaser solution. Then they install them back on the bike with new cables and housing (not required for electronic groupsets). For the average bike enthusiast, this requires a little too much effort and technical know-how. Instead, you can easily clean the derailleurs while they are still installed on the bike. However, it is a good practice to switch out shift cables each season. It'll keep shifting crisp and responsive and prevent frayed or snapped cables. Again, if this process is too taxing, we encourage you to consult your local bike shop.

Derailleur Grossness
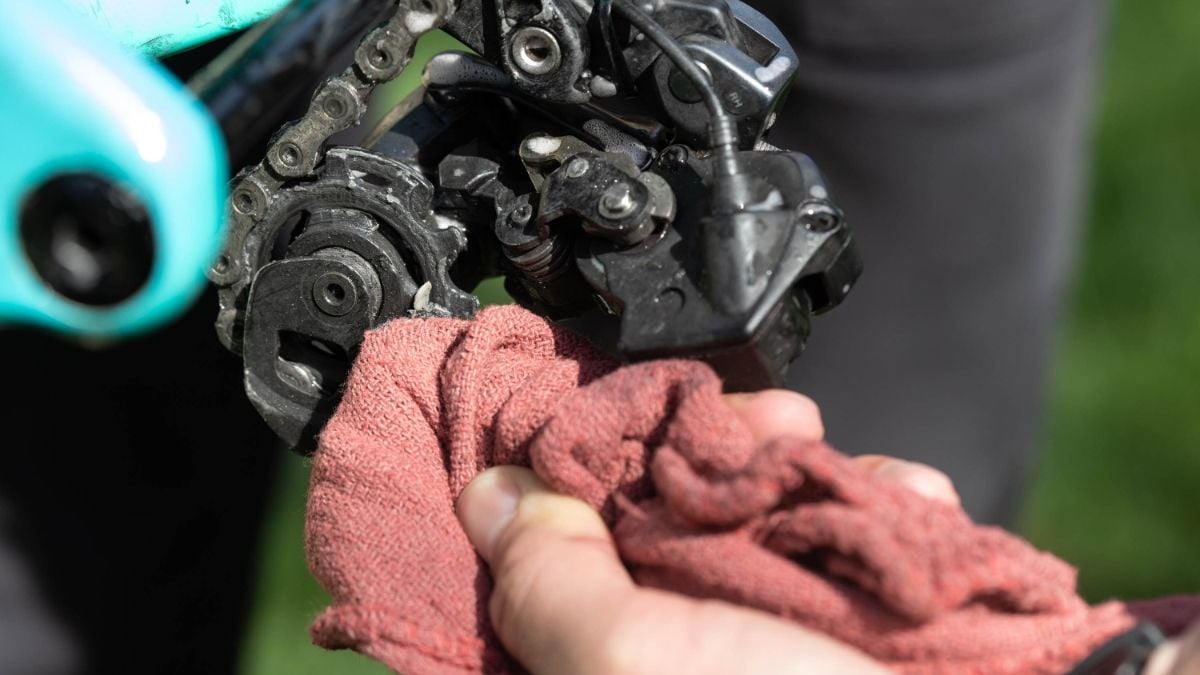
The area that collects the most dirt and grease are the rear derailleur pulleys. These can be easily cleaned by using a rag. If you turn the cranks and put the rag against the moving rear derailleur pulleys, the grease will pill up and start falling off. During this process, be sure to wipe down as much of the derailleur as possible, making sure to check if anything is stuck in the derailleur arm or spring.

Derailleur Cleaning
Rear derailleur pulley wheels are often the first part of the derailleur to wear out, especially since they are generally a plastic cog interfacing with stainless steel under load for hours at a time. When they wear into a pointed, 'shark tooth' profile, it is time for them to be replaced. Most of the major drivetrain systems, Shimano, SRAM and Campagnolo offer replacement pulley wheels which are relatively easy to install with the derailleur and chain still on the bike. Replacing worn rear derailleur pulley wheels is a REALLY easy and cheap way to refresh your drivetrain and keep the chain movement more efficient.
Chainring Cleaning
Your crankset and chainrings should also be assessed and cleaned periodically. First and foremost, the chainrings will collect grease and dirt from the chain that impedes performance, so it's imperative to clean them thoroughly. The easiest way to wipe down each chainring is by 'dropping' the chain so the crankset moves freely. Then it is easy to wipe and pull the grease off the exposed chainrings. When the chain is off the crankset, you can also feel if the bottom bracket bearings are working properly by rotating the crank arms. If it feels 'crunchy' or makes noises, it is time to get a new bottom bracket. Throughout the winter, bottom bracket bearings are often infiltrated with dirt and water, which in turn degrades the performance. Bottom brackets are generally very inexpensive and can be replaced at a local bike shop if you don't feel comfortable with the process.
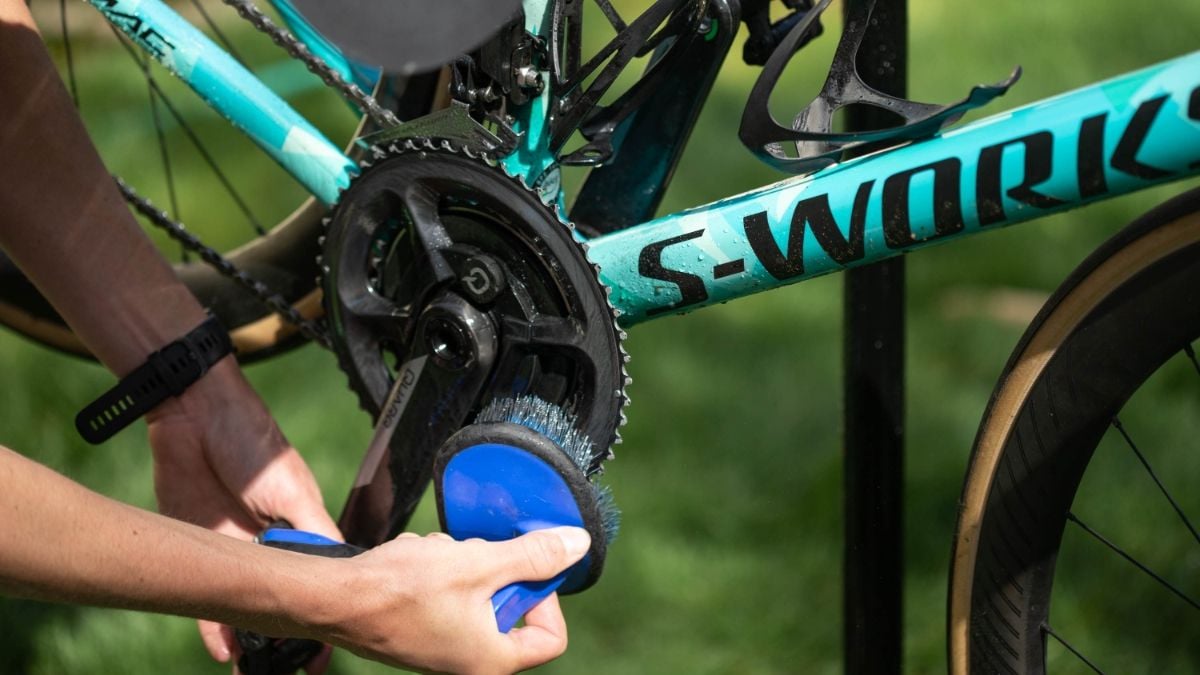
And there you have it — the squeaks (hopefully) are gone! As always, if you find any serious wear to the components, consider replacement or consulting a local bike shop for further advice.
*Pro-Tip: To keep your drivetrain and overall bike from ever really getting too dirty, it is a good practice to do a quick-wash after rides that are particularly dusty, muddy, wet or gritty — which is effectively most wintertime riding. A quick hose-down and scrub with soapy water (grease-cutting dish soap works great) of the wheels, drivetrain and lower frame and fork will go a long way toward keeping your componentry in a good shape. A soft automotive or bike brush is best for the general wash while a coarser-bristled cassette brush will scrub away the muck and grime from your cassette, chain, pulley wheels and chainrings. Dry with a shop towel, relube your chain and you'll be all set.
Words by Ron Lewis and Kenneth Wahrenberger
Photos by Bertrand Morin

If you have further questions about this article or any of the products we carry, please feel free to reach out to our customer service team at the hours listed below.
**Did we miss your favorite spring cleaning bike hack? Share it with us at [email protected] or on our Facebook page!
Happy riding! Email [email protected] Phone 1-800-682-0570 Hours:Mon-Sat 8am-5pm PT


