In the last installment of our spring cleaning tutorial, we dove into brake maintenance. Today, we turn to another essential system, your bike's cockpit.
Like any of the bike's contact points, your cockpit area, which includes bars, stem, headset, levers and associated cabling, receives its share of wear and tear, often degrading in performance so incrementally it can be hard to notice until something either stops working or fails outright.
Routinely checking/resetting your headset preload and stem bolt tension are a solid place to start as they can often loosen up over the course of the season, particularly if your bike logs significant offroad mileage. This can lead to loose, unstable front-end handling and ultimately headset bearing damage.

To properly adjust your headset preload, loosen the stem bolts fastening your stem to the steer tube so the stem is able to move side-to-side. remove the bolt in the center of your topcap. Wipe the bolt free of any grit or grime and regrease the threads using Waterproof Grease. Replace the topcap, tightening only until it begins to feel slightly snug. Keep in mind, the topcap bolt is ONLY for setting the bearing preload, so make sure not to overtighten here.
Locking only your front brake, gently rock the front end back and forth, tensioning the topcap bolt slowly until all knocking and play is gone. Disc brake pads can sometimes have a bit of play so if it is still feeling a bit loose, swing the front wheel perpendicular to the bike and rock front-to-back, adjusting until all play is gone.
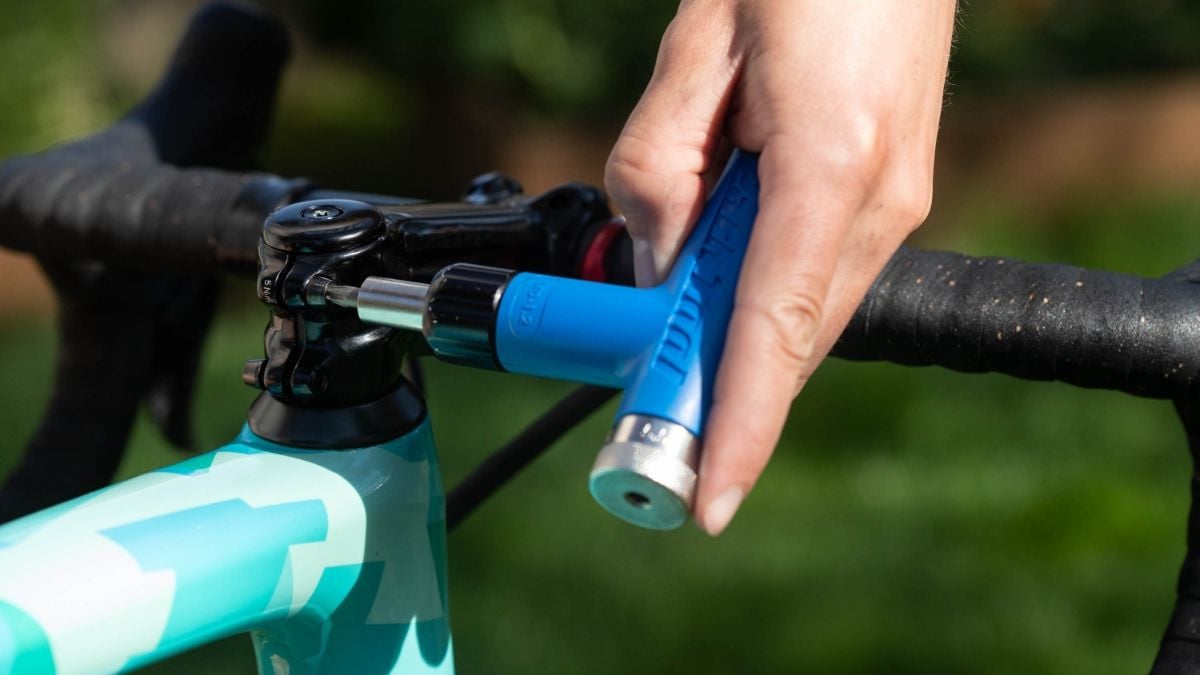
Once the front end feels snug, swing the bars and front wheel side to side. It should glide gently without friction. The headset should feel snug and secure but not overly tight or binding. With the preload tensioned, using a torque wrench you can now tighten your steer tube bolts down to the proper torque. Ideal torque spec for steer tube and stem faceplate bolts is usually between 5 and 6 nm (Newton-meters). We highly recommend using a torque wrench to dial in tension. This is especially important with carbon steerer tubes, bars, and stems.

To keep your cockpit from loosening it is recommended to use a layer of assembly paste, such as Park Tool's SuperGrip Compound on all contact surfaces such as stem/steer tube and stem faceplate and bars. Assembly paste acts as a granular binding compound for carbon and alloy interfaces, significantly enhancing grip between the componentry while reducing the amount of tension and torque required to hold them in place.

One of the most routine and gratifying cockpit refreshes is the bar tape re-wrap. Your old or worn bar tape can be removed by gently slicing the finishing tape near the stem and unraveling backward to the bar-ends. Over time the layers and adhesives fuse to the surface of the bar and may need to be scraped or cut off. Either way, it's not a terribly delicate process and the bar will usually look pretty scruffy prior to re-wrapping.

To re-wrap, remove the adhesive backing from your fresh tape and start from the bottom of the inside of the unfinished bar-end, leaving just enough material overlapping the open end to seat and seal with a bar-end plug. Wrap diagonally and evenly from inside to outside, maintaining a steady tension and even spacing.
It can take a bit of practice to get used to, but with the rubber hood material pulled back to expose your levers' undersides, carefully wrap an even layer around the edges of the bar-lever interface and through the curvature to the top of the bar. Continue along the top to your preferred stopping point, trim and finish with either electrical tape or the adhesive strips provided with your new bar tape.

*Pro-Tip: When re-wrapping bars on gravel or adventure bikes, it is worth considering a double wrap, with a cushier 3mm underlayer and a tactile, grippy finishing wrap. This offers the dual benefits of dampening front end vibration and creating a beefier, wider-diameter bar-feel with enhanced control which reduces hand fatigue over rough terrain.
If you run a mechanical or cable-actuated groupset, replacing worn cables and housing are a great way to improve overall shifting and braking crispness. Cables will stretch and fray over time, causing friction and bogging down responsivity and performance. A great time to consider a cable and housing refresh is when rewrapping the bars as most modern road and gravel bikes run all cabling beneath the bar tape.
Between internal and external routing, mechanical shifting mixed with hydraulic brake systems, cable and housing replacement procedures tend to be very model and groupset specific, so consult your local bike shop for more detailed advice if you have any doubts.
Words by Ron Lewis and Kenneth Wahrenberger
Photos by Bertrand Morin

If you have further questions about this article or any of the products we carry, please feel free to reach out to our customer service team at the hours listed below.
**Did we miss your favorite spring cleaning bike hack? Share it with us at [email protected] or on our Facebook page!
Happy riding! Email [email protected] Phone 1-800-682-0570 Hours:Mon-Sat 8am-5pm PT


