In the last installment of our spring cleaning tutorial, we dove into cleaning your frame. Today, we turn to your bike's brakes.
Regardless of the brake type on your bike, they will need to be assessed, cleaned, and serviced on a regular basis.
Brake pads need to be replaced once they wear past a certain point — otherwise, they won't work anymore. On rim brakes, you can tell if the pads are toast based on wear indicator lines (found on most pads). If the pads do not have a wear indicator line, you can tell the wear based on the vertical grooves in the pads. If they're gone, the brake pads need to be replaced.
*Pro-Tip: For rim brake users, try using a bit of sandpaper on the faces of your rim brake pads. This will even out inconsistencies, remove any shards of metallic debris that can scratch your brake track, and will expose a fresh layer of pad compound, enhancing your braking power with a renewed grip.

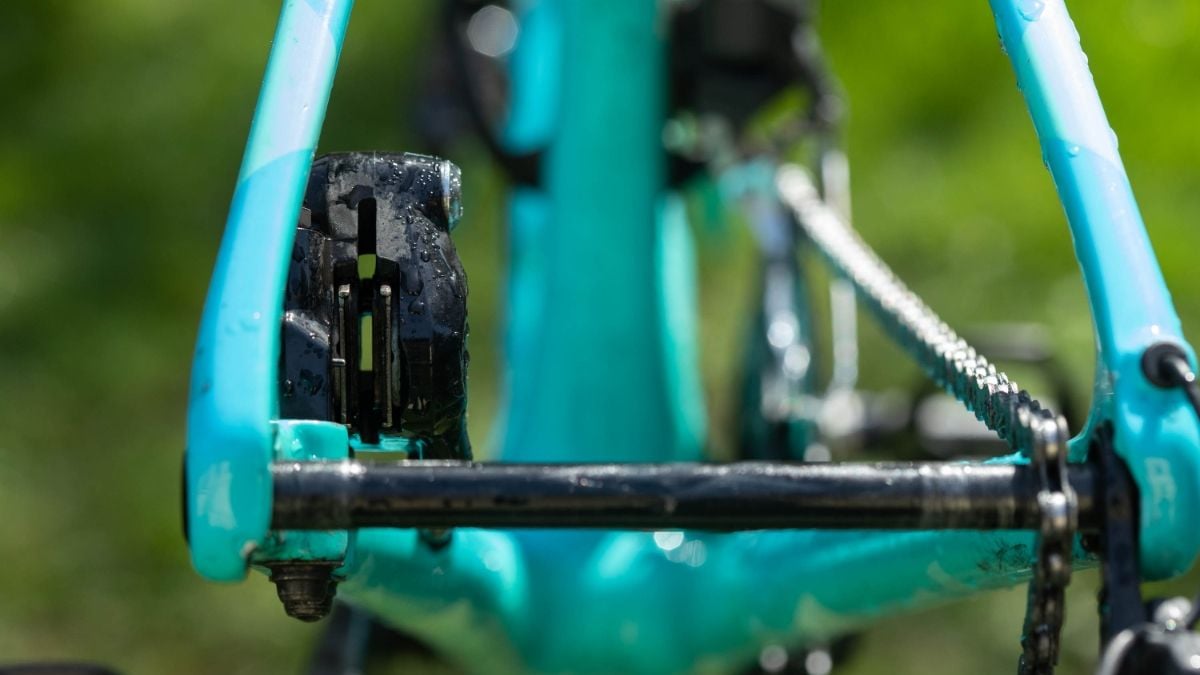
With disc brakes, the pad replacement process can be a little more difficult. An easy way to assess disc brake pad wear is by shining a flashlight down the narrow slit between the pads and the disc. As a rule of thumb, the amount of pad material remaining on the backing plate should be greater than 1mm for safe brake operation. If your pads have worn down beyond this level it is time to replace them. You can also tell replacement is necessary if your brakes start to squeal when riding in dry conditions. This means the metal from the back of the pads is interfacing with the disc rotor — which makes a squeal. Other issues beyond wear can cause squealing, however, so if you are at all unsure or think your brakes are on the edge it is a good idea to have your pad wear verified by a mechanic.

If the brakes are not worn, it's still a good idea to clean the caliper and rotor to ensure maximum performance and component lifespan.
For rim brake users, the best way to clean the braking mechanism is by using alcohol or bike-friendly cleaners or Scotchbrite pads to wipe down the rim surface where the brake makes contact with the wheel. Typically, this frees up tiny grooves that fill with dirt and then allows the brake pads to have a larger surface area to grip onto.
For disc brake users, it's often helpful to take the wheels off the bike and wipe down the rotors with isopropyl alcohol. You can also remove the brake pads from the caliper and clean the entire mechanism. Threading a rag through the caliper while the pads are removed often helps clean out debris that impedes the performance of the brake pistons. Be sure to use alcohol or a cleaner that is safe for disc brake systems (i.e. one that won't add any potential contaminants).

If you have hydraulic disc brakes, you may need a brake bleed to remove excess air that's entered the hydraulic system. This process is more complicated and requires a specific brake bleeding kit (like Park Tool BKD-1 Hydraulic DOT Bleed Kit 1.2 or Park Tool BKM-1.2 Hydraulic Mineral Oil Bleed Kit). If you do not feel comfortable with this process or do not have the proper tools, take your bike to a local shop and they can easily get the job done.

*Pro-Tip: Consider rotating your disc brake compounds seasonally. Try running a softer resin compound for a more nuanced modulation in the summertime when conditions are drier and switching to a heavier duty metallic pad in the winter, which tend to have a more pronounced stopping power and a longer lifespan in wet and gritty conditions.
Words by Ron Lewis and Kenneth Wahrenberger
Photos by Bertrand Morin

If you have further questions about this article or any of the products we carry, please feel free to reach out to our customer service team at the hours listed below.
**Did we miss your favorite spring cleaning bike hack? Share it with us at [email protected] or on our Facebook page!
Happy riding! Email [email protected] Phone (503) 917-0156 Hours:Mon-Sat 8am-5pm PT


